Community administrators can modify sections of their community
home pages to include custom information for or about that community.
Before you begin
About this task
Procedure
To modify a community home page:
- Modify the content of existing viewlets on the home page.
- Open the menu in the header of an existing viewlet by
clicking the down arrow.

- Click Edit
- Type a title for the view.
- In the rich text editor, add community information. You can add tables, pictures, or various types of links.
- Click OK.
- Open the menu in the header of an existing viewlet by
clicking the down arrow.
- Optional: Create new viewlets with custom information. All new viewlets are added to the bottom of the region that
you want to create the viewlet in. If you want to change the order
of the existing viewlets in one region, you must plan to recreate
the viewlets in the correct order from top to bottom.
- In the Custom Text section, select the region of the
home page that you want to create the viewlet in.
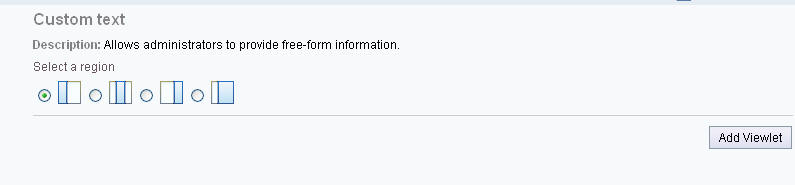
- Click Add Viewlet.
- Open the menu in the header of an existing viewlet by clicking the down arrow.
- Click Edit
- Type a title for the view.
- In the rich text editor, add information for the community. You can add tables, pictures, or various types of links.
- Click OK.
- In the Custom Text section, select the region of the
home page that you want to create the viewlet in.