Troubleshooting
Problem
This technote provides step-by-step instructions to set up and use the IBM® Rational® Data Architect (RDA) integration with CVS.This technote assume that CVS is setup and configured correctly.
Resolving The Problem
Subsequent Team Access to Version Controlled Projects
Model Merges with the Integration
Setting Team Preferences
- Start RDA
- Click Window -> Preferences
- Expand General
- Select Capabilities
- Click Advanced...
- Expand Team
- Enable CVS Support
- Click OK
- Click Apply
- Click OK

Adding CVS Location
- Click Window -> Open Perspective -> Other...
- Select CVS Repository Exploring
- Click OK
- Right-click in the CVS Repositories view
- Click New -> Repository Location...
- Enter the connection information
- Click Finish

Adding Projects to CVS
- Select the project in the Data Project Explorer
- Right-click
- Click Team -> Share Project...
- Select CVS
- Click Next
- Select Use existing repository location
- Select an existing repository location
- Click Next
- Select Use project name as module name
- Click Next
- Click Finish

- Click Finish

Subsequent Team Access to Version Controlled Projects
- Click Window -> Open Perspective -> Other...
- Select CVS Repository Exploring
- Click OK
- Expand the repository location
- Expand HEAD
- Select the desired module
- Right-click and then click Check Out
- Switch to the Data perspective
Performing CVS Functions
- Select the model file
for example, *.ldm or *.ddm - Right-click and then click Team
- Click the desired CVS function
Model Merges with the Integration
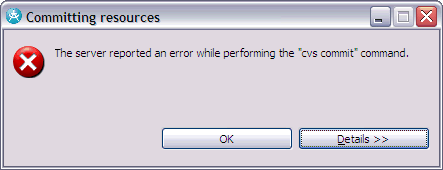
If you see the following dialog after attempting a commit command this might indicate that there are conflicting changes contained in the local file.

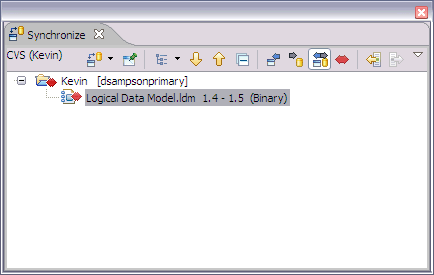
You will need to perform a Synchronization
- Select the model file
- Right-click
- Click Team -> Synchronize with Repository
- Switch to the Team Synchronizing perspective
- Use the navigation arrow to navigate through the differences

- Once a conflict is located, to accept the repository changes click the Copy from Right to Left
Note: There is a known defect with the merge editor when using CVS: The
merge editor does not provide visual feedback of the selections with the CVS
integration (APAR JR26752)
- After resolving all conflicts close the merge editor by clicking X on the view
- Click Yes

- Select the model in the Synchronize view
- Right-click and then click Mark as Merged
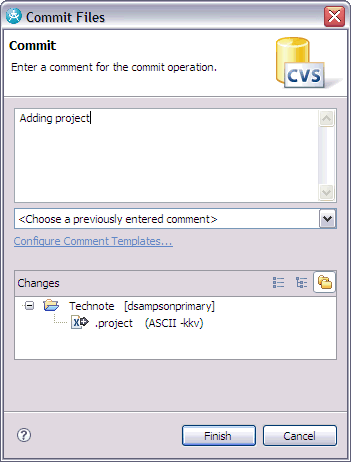
- Right-click and then click Commit...
- Click Finish
- Switch to the Data perspective
[{"Product":{"code":"SSSRXA","label":"Rational Data Architect"},"Business Unit":{"code":"BU059","label":"IBM Software w\/o TPS"},"Component":"Integrations: IBM","Platform":[{"code":"PF016","label":"Linux"},{"code":"PF033","label":"Windows"}],"Version":"7.0;7.0.0.1","Edition":"","Line of Business":{"code":"LOB10","label":"Data and AI"}}]
Was this topic helpful?
Document Information
Modified date:
16 June 2018
UID
swg21261269