Optical devices
Your system comes with a rack-mounted CD-ROM or DVD-ROM drive.
As an option, you can order a DVD-RAM drive as a feature to replace your internal drive or to have it in addition to your internal drive. All optical drives are devices that multiple users can access concurrently.
- Look at the following figure and remove the disk from the protective case.
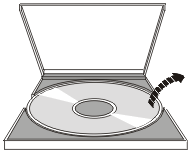
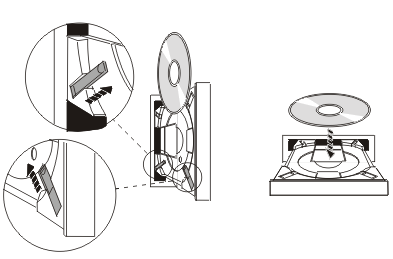
- Slide the disk into the tray with the label side showing. If your optical
device is vertically positioned, make sure that the disk is secured by the
two tabs at the bottom of the tray as shown on the left in the following figure.
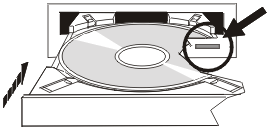
- When you have properly positioned the disk in the tray, press the Eject
button or push the tray into the drive as shown in the following figure.
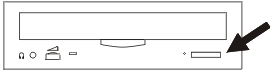
- To remove the disk from the drive, look at the following figure and press
the Eject button.
No preventive maintenance is necessary for the optical drive. Always handle optical disks by the edges to avoid finger prints. Optical disks can be wiped with a soft lint-free cloth or lens tissue. Always wipe in a straight line from the inner hub to the outer rim.
The system supports both directly attached small computer system interface (SCSI) and LAN-attached optical media library devices. These devices are an excellent alternative to storing data traditionally kept on paper, diskette, microfilm, microfiche, and tape. Optical libraries are high capacity, random access devices that provide fast access to a large amount of data. In addition, optical storage provides permanent, long-term archive characteristics unmatched by other storage mediums.
The system supports attachment of the IBM® 3995 and 3996 Optical libraries as well as non-IBM optical library devices.
