The upgrade to IBM® Java™ 7 is triggered when you first launch the V6.3 Tivoli® Enterprise Portal browser client after a pristine installation.
About this task
The Java upgrade
requirement is automatically detected and the graphic image and download
link in Figure 1 are displayed
in your browser page.
Figure 1. Java Plug-in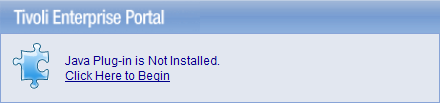
Complete the following steps to install IBM Java 7
for use by the Tivoli Enterprise
Portal browser and Web Start clients: Procedure
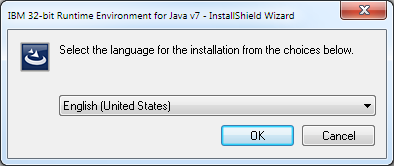
- Select the default language for the installation and click OK. Figure 2. IBM Java 7 installation default language
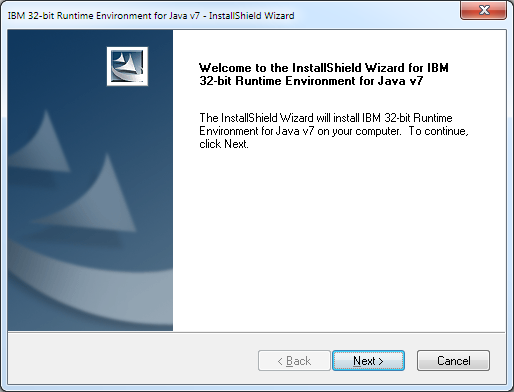
- Click Next on the Welcome page. Figure 3. IBM Java 7 Welcome page
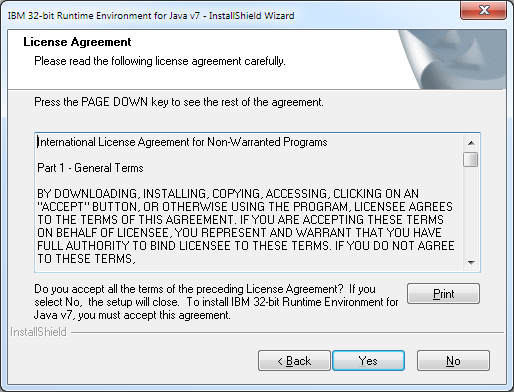
- Click Yes to accept the license agreement. Figure 4. IBM Java 7 Software License Agreement window
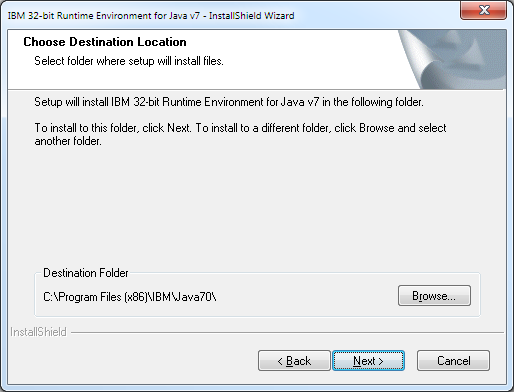
- Click Next to accept the default installation location
for IBM Java 7, or click Browse to browse to
a different target location on your system. Figure 5. IBM Java 7 Choose Destination Location
- Click Yes when asked to install IBM Java 7
as the System JVM. Figure 6. Install System JVM
- If another version of Java is
already installed as the System JVM, you are asked if you want to
establish IBM Java 7 as the System JVM. Click Yes. Figure 7. Overwrite previous System JVM
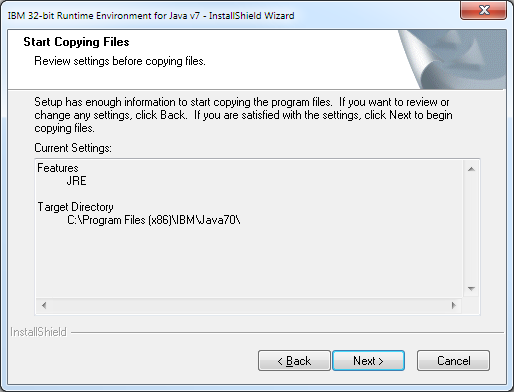
- A panel lists the installation options you have chosen
so far. Click Next to begin the file copy and system update phase
of the installation. Figure 8. IBM Java 7 Start Copying Files
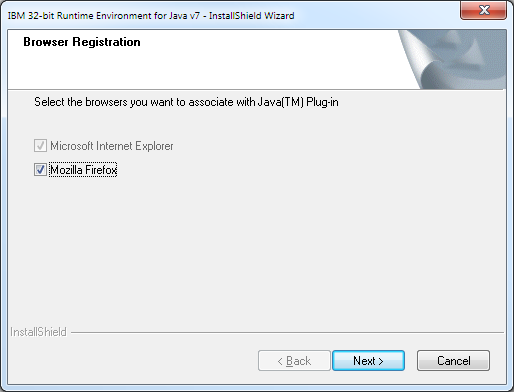
- After all of the support files are copied to your machine,
you are be prompted to install and register the Java Plug-in modules used by Microsoft Internet Explorer and Mozilla
Firefox. Unless you are an experienced user and have specific reasons
for not accepting the defaults here, click Next to continue. Figure 9. IBM Java 7 Browser Selection
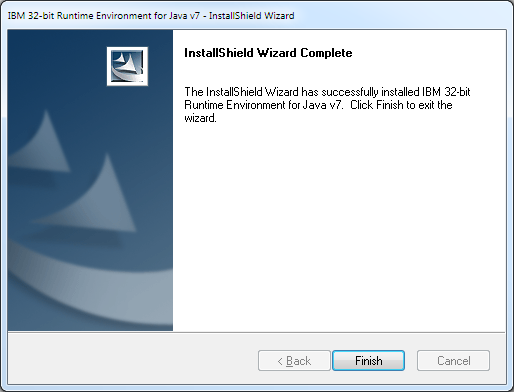
- After successful registration of the Java Plug-in modules, the Finish panel is displayed.
Click Finish to complete the installation of IBM Java 7. Figure 10. IBM Java 7 InstallShield Wizard Complete