Viewing entities in Insight Map Viewer
To view your entities, you start the web application and upload the business object model (BOM) for the solution.
Procedure
Results
Figure 1. Default map visualization showing several entities
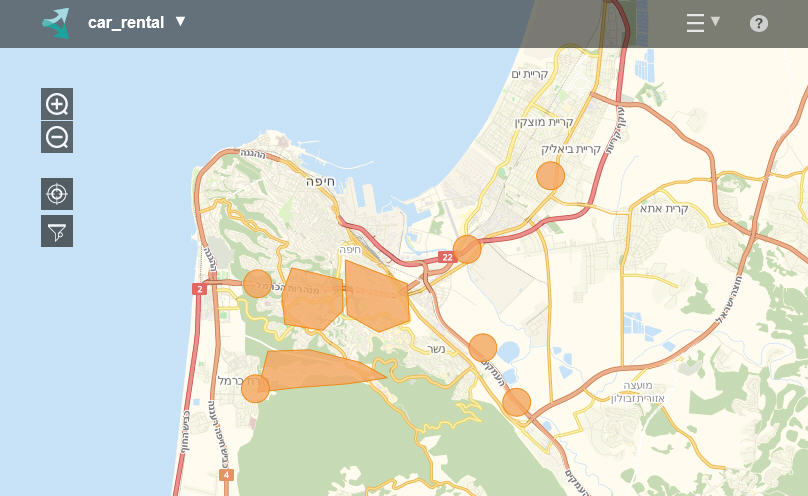
The map displays the entities that have moving and static geometry attributes. You can use the + and - buttons in the upper left corner of the map to zoom in and out.
Every type of entity that is defined in the BOM is displayed as a separate layer on the map. You can choose to show or hide a layer of entities. Click the filter symbol to open a menu and select the layers that you want to show.
If entities are displayed in the same location, some of them might be hidden. To access such an entity, filter the layer that is hiding it.
Tip: If you do not see your entities, click the button under the zoom in and zoom out
buttons. The map recenters around the existing entities in your solution. If the map shows no
entities at all, make sure that the entities in your solution exist and that they contain
geographical data.