Steps for deploying the EAR file to a WebSphere Application Server
Perform the following steps to deploy the EAR file to a WebSphere® Application Server.
Before you begin
Procedure
- Create a new shared library.
- Click New to add a shared library. The window
shown in Figure 1 opens. Figure 1. The Websphere Shared Libraries window
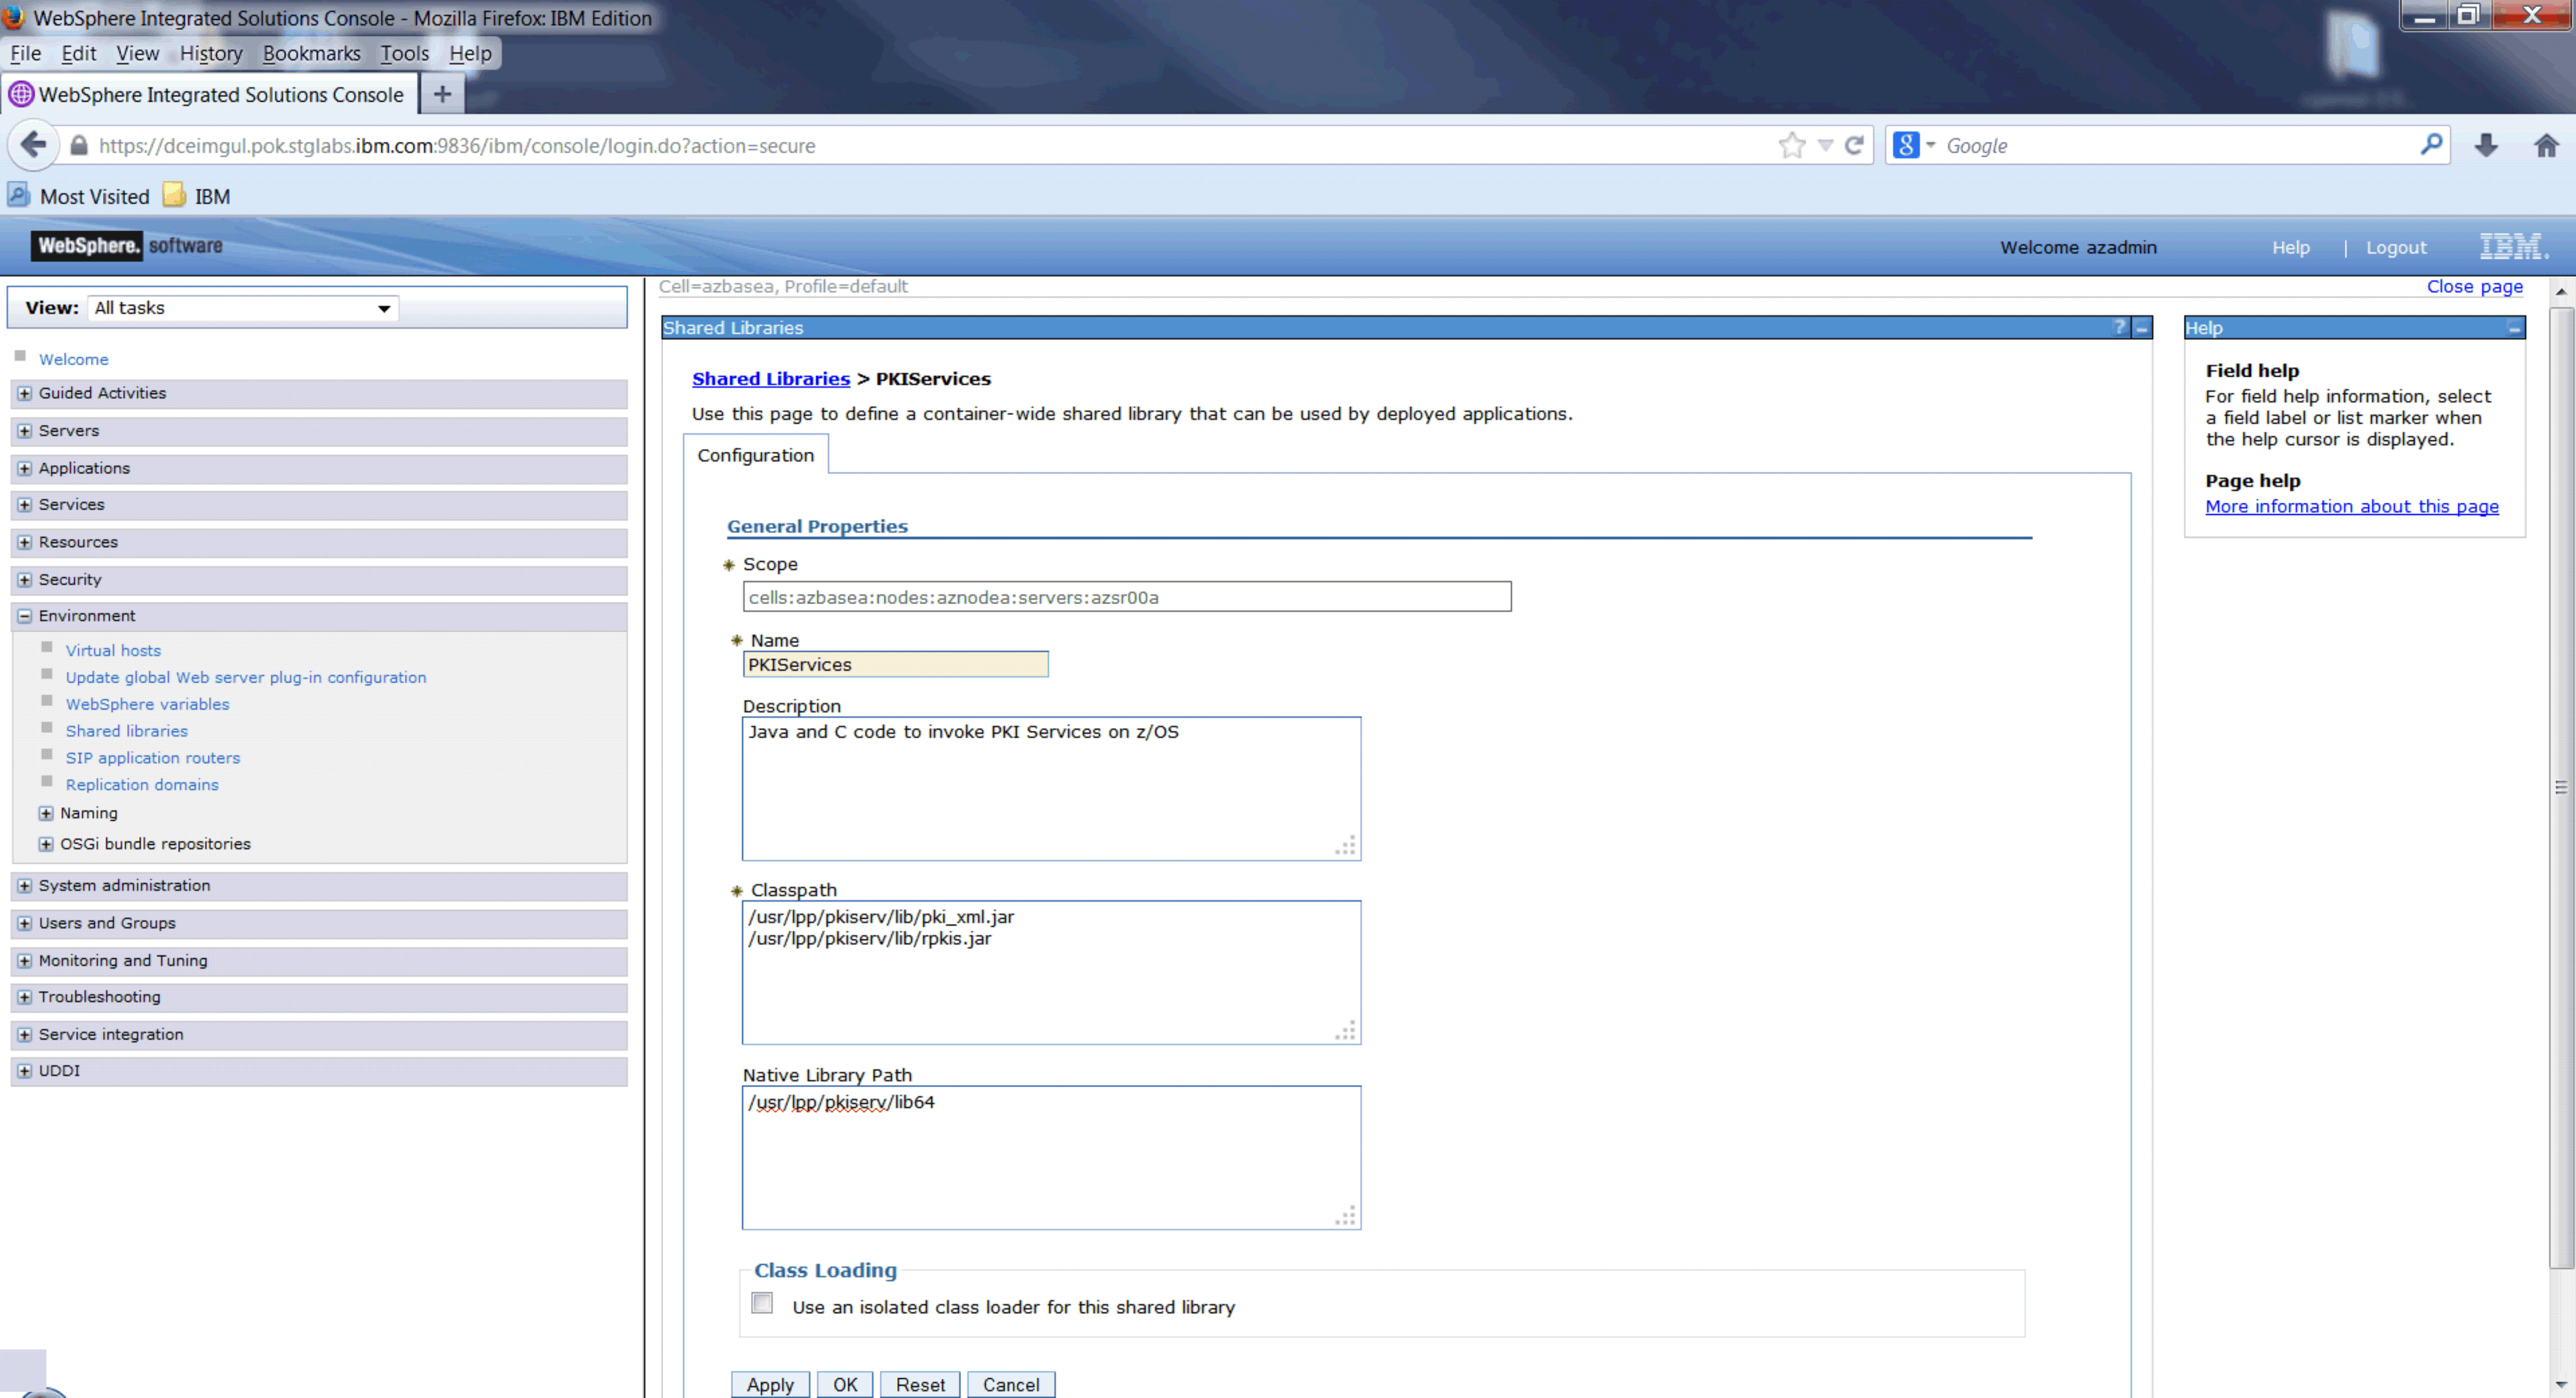
 In the Native Library Path field,
enter:
In the Native Library Path field,
enter: /usr/lpp/pkiserv/lib64Note:If running WebSphere Application Server in 31-bit mode, enter:/usr/lpp/pkiserv/lib
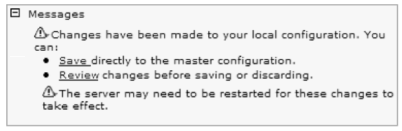
- Click OK. A message is displayed indicating that
changes have been made to your local configuration. See Figure 2. Figure 2. Message indicating that changes have been made to your local configuration.
_______________________________________________________
- Click New to add a shared library. The window
shown in Figure 1 opens.
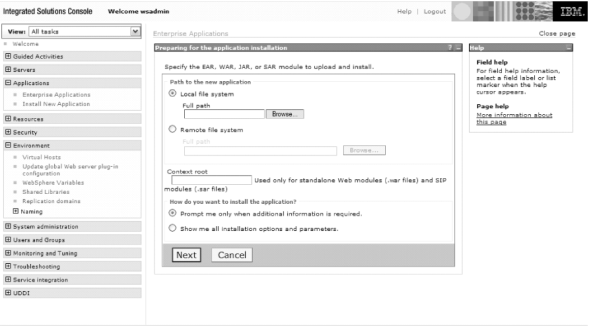
- Deploy the enterprise archive (EAR) file.
- Click Install. The window shown in Figure 3 opens. Figure 3. Window for specifying the EAR file
_______________________________________________________
- Click Install. The window shown in Figure 3 opens.
- Associate the PKI Services shared library
with the PKI Services application.
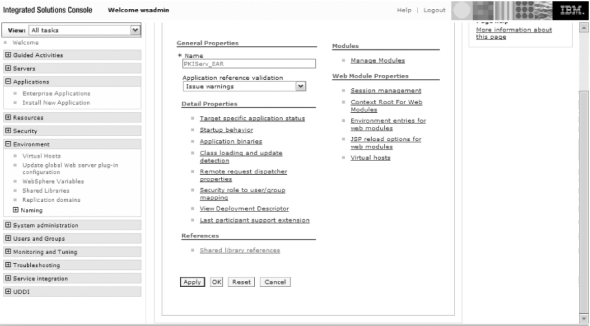
- In the left pane, click Applications > Enterprise
Applications. Click PKIServ_EAR. The window shown in Figure 4 opens. Figure 4. Application properties page
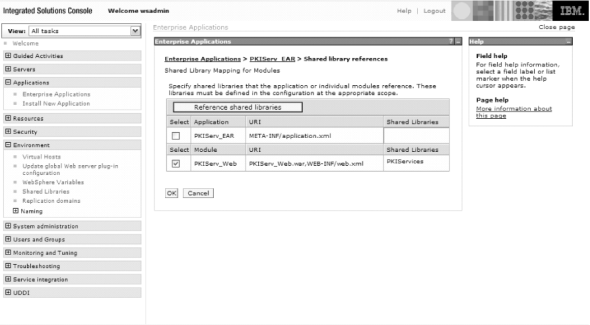
- Click Shared Library References. The window shown
in Figure 5 opens. Figure 5. Shared library mapping for modules page
_______________________________________________________
- In the left pane, click Applications > Enterprise
Applications. Click PKIServ_EAR. The window shown in Figure 4 opens.
Results
When you are done, you have deployed the PKI Services JSP files to a WebSphere Application Server. You can now begin using the customized PKI Services web application.