- Edit the switch by either selecting Switch from the Edit menu
and choosing the switch from the list or by double-clicking on the
switch in the diagram. This opens the Switch dialog.

- Select four free ports (E0 through E3) and click Connect.
This opens the Select Multiple Connection Target(s) dialog,
allowing you to select the connection target interfaces.

- In the right list box of the Select Multiple Connection Target(s) dialog, double-click on the + signs beside processors PROC1, PROC2 and PROC3 to show the contained CHPIDs in these processors. Then from PROC1, select this one: CHPID PROC1.20 CTC SHR.
- In the left list box, select port E0 and press the enabled <<Connect button at the bottom of the window. This establishes the requested connection between port and CHPID.
- Repeat steps 3 and 4 to connect CHPIDs PROC2.20, PROC2.21 and PROC3.0.21 to the switch ports E1 – E3. Then press button Physical Only ….
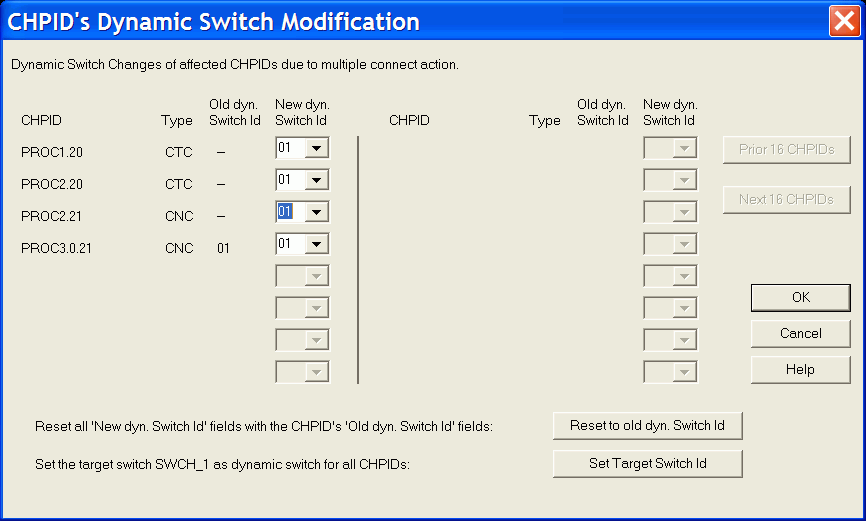
- In the CHPID's Dynamic Switch Modification dialog, enter 01 into
the New dyn. Switch id fields for all CHPIDs and then
press OK.

- Close the Switch dialog to return to the diagram. Now select Filter
Diagram… from the View menu. Enable the following
check boxes:
- CTC Connections
- Objects with physical-only connections
- Show Processors
- Show All CHPIDs
The new connections appear in the diagram.