Question & Answer
Question
How can you configure IBM Rational Software Architect Design Manager to use IBM DB2 High Availability Disaster Recovery with the aid of Data Sources in IBM WebSphere Application Server?
Cause
You have already configured IBM DB2 to use High Availability Disaster Recovery, and you know the details of your primary and secondary (alternate) databases.
When you run the JTS Setup, you have two options:
- a JDBC connection
- a J2EE connection to the database
If you choose a JDBC connection, you can only specify the primary database: you have no option to enter the details of the secondary database. You rely uniquely on the JDBC driver to reroute the connection to the alternate DB2 server, if the primary server becomes unavailable.
IBM Rational Software Architect Design Manager, IBM Rational Rhapsody Design Manager and the IBM Collaborative Lifecycle Management products use a JDBC driver Type 4 to connect to IBM DB2. If the primary DB2 server becomes unavailable, the Type 4 JDBC driver will reroute the connection to the alternate server, but only as long as the Java Virtual Machine of the Application Server continues to run.
If the Application Server is stopped and restarted, the information about the alternate server is no longer available, and the connection to the database fails. This happens because the Type 4 JDBC driver does not persist the information related to the alternate server.
Answer
ANSWER
If you want to use IBM DB2 High Availability Disaster Recovery (HADR), it is recommended that you install IBM WebSphere Application Server, and that you configure Data Sources, so that you can use the J2EE connection to the database in JTS Setup.
The Data Source configuration in WebSphere Application Server allows you to specify the connection information for the alternate database. As a result, if the Application Server is restarted, it can find the alternate database and still connect successfully.
- Configure IBM DB2 High Availability Disaster Recovery according to the procedure described in this article:
Configuring IBM DB2 9.7 High Availability Database Repository for Rational Team Concert
The rest of the article assumes the existence of the computers called: db2hadrvm1 (hosting the primary database) and db2hadrvm2 (hosting the secondary or alternate database) NOTE: Ensure that all computers are accessible via fully qualified names instead of simple names.
- Install IBM WebSphere Application Server and create a profile
- Start the WebSphere Application Server profile
- Launch the WebSphere Integrated Solutions Console, using the URL: http://hostname:port/ibm/console
NOTE: You can determine the port value opening the file:
WAS_Installation\profiles\profileName\properties\portdefs.props
and looking for the value of:WC_adminhost
- Navigate to Resources > JDBC > Data sources
- Create a Data Source for each Database. The number of databases and data sources depends on which product you are installing. If you use a distributed topology with multiple application servers, create the data source on the application server that hosts the corresponding application. In the case of Rational Software Architect Design Manager, you need three databases, corresponding the applications:
jts.war,vvc.war,
dm.war. In the rest of the article, these databases are called: JTS1, VVC1, DM1. An example is provided for JTS1 only.
- Select the scope for the Data Source. This setting defines the scope in which the Data Source can be referenced. In the following, Cell scope was selected.
- Click on New
- Select a unique name for the Data Source: JTSds
- Select a unique JNDI name for the data source: jdbc/JTSds
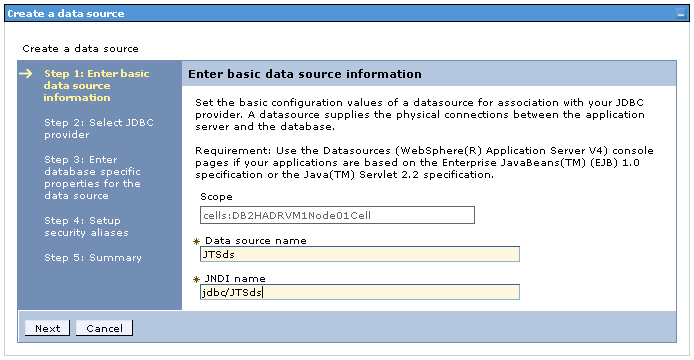
- Click Next
- Click on Select an existing JDBC Provider
- Select the provider: DB2 Universal JDBC Driver Provider (XA)
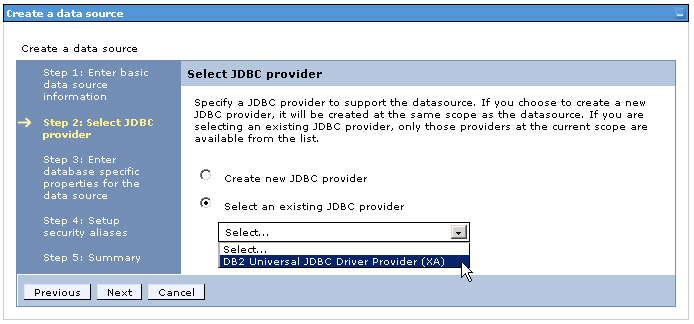
- Click Next
- Select the Driver type: 4
- Enter the Database Name: JTS1
- Enter the Server Name where the Primary DB2 database is running: db2hadrvm1
- Enter the port number where the Primary DB2 database is listening for TCP/IP connections: 50000
(this may differ on your system).
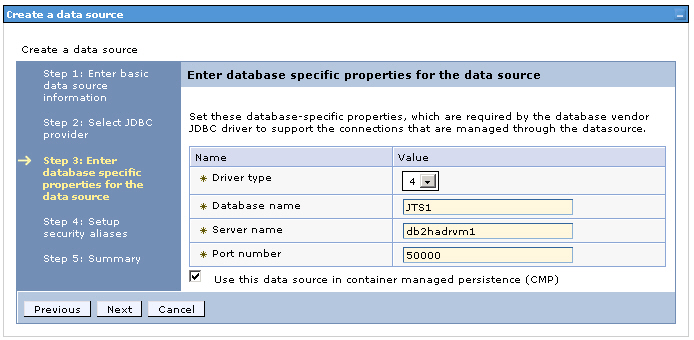
- Click Next
- Do not select anything in the page called: Setup security aliases. You will complete these settings later.
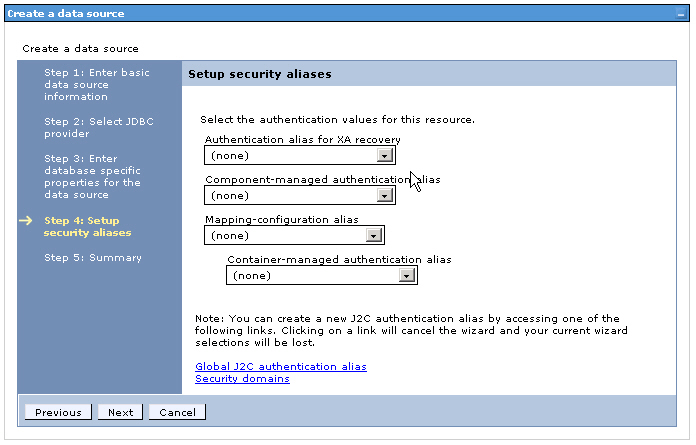
- Click Next
- Review the summary
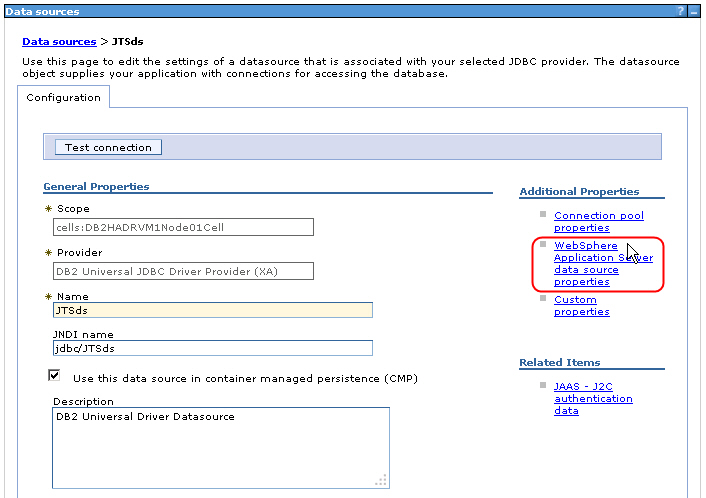
- Click Finish. The Data source will appear as follows:
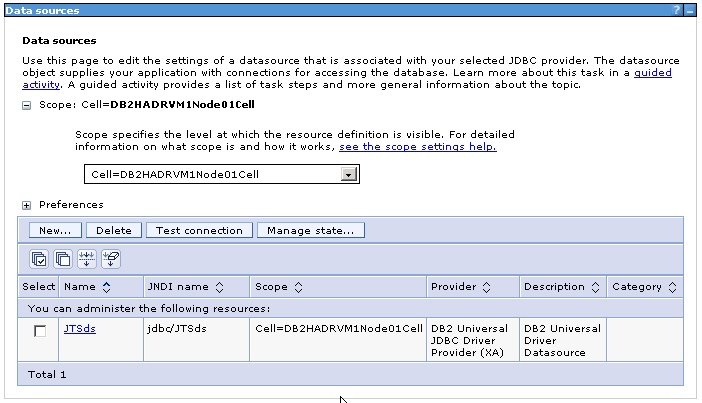
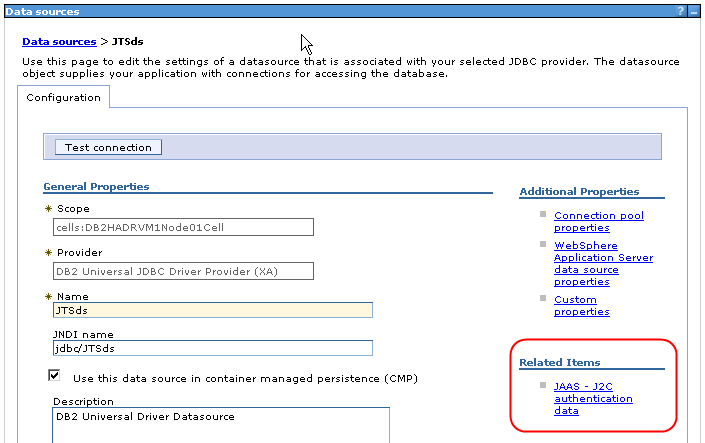
- Click on the Data Source name JTSds to open the Data Source configuration page
- Click on the link: Related Items > JAAS - J2C authentication data
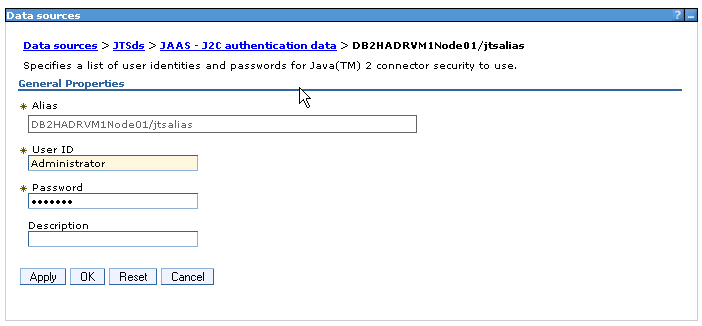
- Enter a unique value for Alias: jtsalias
- Enter the credentials for the database JTS1, for example:
username: Administrator
password: password
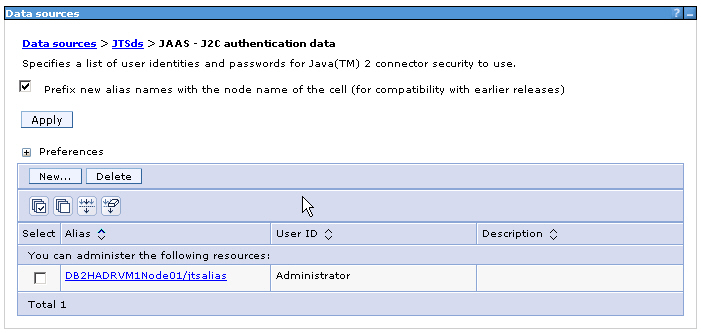
- Notice that, in the end, the Alias will appear as follows:
- Click Apply
- Click on the link with the Data source name: JTSds
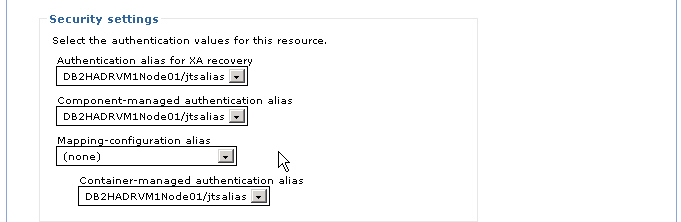
- Reference the alias jtsalias in the fields: Authentication alias for XA recovery, Component-managed Authentication alias and Container-managed authentication alias:
- Click on Advanced properties>WebSphere Application Server data source properties
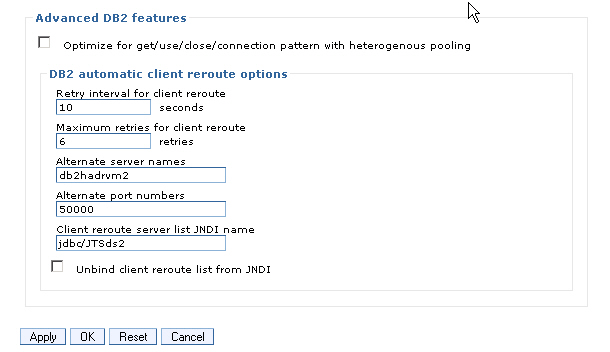
- Scroll down till the section called DB2 automatic client reroute options
- Enter values similar to the following:
Retry interval for client reroute: 10 seconds
Maximum retries for client reroute : 6 retries
Alternate server names: db2hadrvm2
Alternate port numbers: 50000
Client reroute server list JNDI name: jdbc/JTSds2
Note 1: If you choose to use Client reroute server list JNDI name, you do not need to supply Alternate server names and Alternate port numbers (and vice versa).
Note 2: The Client reroute server list JNDI name should be a unique JNDI name, different from the JNDI Name used in the previous step.
For more information on these properties, refer to: Configuring client reroute for applications that use DB2 databases in the WebSphere Application Server InfoCenter.
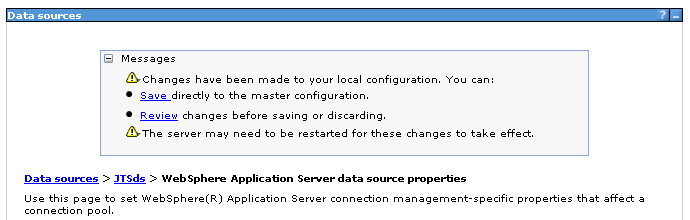
- Click Apply
- Click on Save directly to the master configuration
- Select the Data Source JTSds, on the main Data Source page
- Click on Test Connection
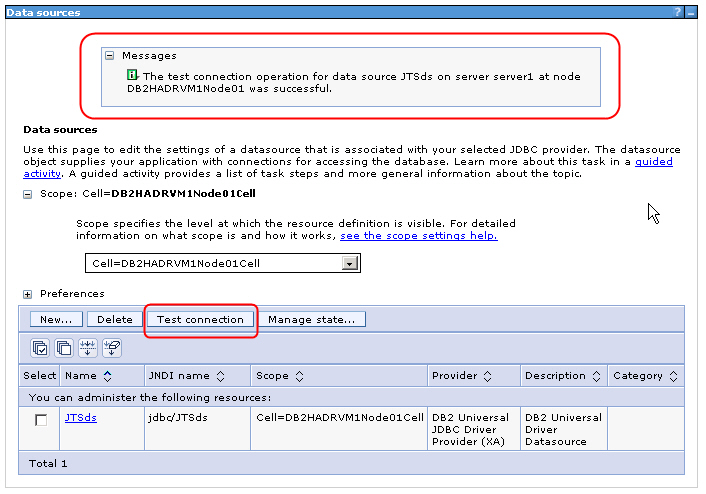
- Notice that the message states:
The test connection operation for data source JTSds on server serverName at node nodeName was successful.
- Repeat these steps to create one Data source for each database
- Restart WebSphere Application Server
Testing the HADR setup from WebSphere Application Server
Prior to installing Rational Software Architect Design Manager, you can test the setup of the Data sources as follows:
- Browse to the Data source and click on Test Connection, while JTS1 in db2hadrvm1 is set to be the Primary database
- Stop the Database on db2hadrvm1. From an administrative DB2 command prompt, execute:
db2stop force
- Perform a takeover on db2hadrvm2:
db2 takeover hadr on database JTS1 by force DB20000I The TAKEOVER HADR ON DATABASE command completed successfully.
- Verify that the alternate database has now become the Primary database:
  db2pd -db JTS1 -hadr

  Database Partition 0 -- Database JTS1 -- Active -- Up 10 days 01:26:36

  HADR Information:
  Role    State                SyncMode HeartBeatsMissed   LogGapRunAvg (bytes)
  Primary Disconnected         Nearsync 0                  0

  ConnectStatus ConnectTime                           Timeout
  Disconnected  Thu Feb 13 05:51:13 2014 (1392299473) 120

  LocalHost                                LocalService
  db2hadrvm2                               64001

  RemoteHost                               RemoteService      RemoteInstance
  db2hadrvm1                               64000              DB2

  PrimaryFile  PrimaryPg  PrimaryLSN
  S0000018.LOG 4095       0x000000002F38AF00

  StandByFile  StandByPg  StandByLSN
  S0000000.LOG 0          0x0000000000000000
- Open the WebSphere Integrated Solutions Console
- Select the Data source
- Click on Test Connection
- Stop and restart WebSphere Application Server
- Open the WebSphere Integrated Solutions Console
- Select the Data source
- Click on Test Connection
If all these tests succeed, your Data source is properly configured to support HADR and you can proceed to install Rational Software Architect Design Manager with IBM Installation Manager.
Run JTS Setup and configure the connection to the Databases using Data sources
- Run JTS Setup
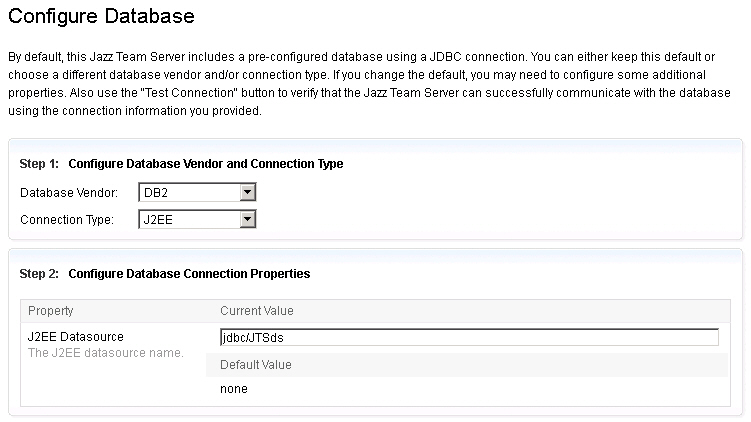
- Reach the page where you must configure the first database for the Jazz Team Server
- Select the Database type: DB2
- Select the Connection Type: J2EE (the other possible value is JDBC)
- Select the property J2EE Datasource and enter the JNDI name of the datasource: jdbc/JTSds
- Proceed with the setup, and configure all other databases as described above.
Related Information
Product Synonym
Rational Team Concert;Rational Quality Manager
Was this topic helpful?
Document Information
Modified date:
29 September 2018
UID
swg21665033