Question & Answer
Question
When we need to get log files from an InfoSphere Guardium system, how can we extract them ?
Cause
You don't have access to the file system in an InfoSphere Guardium Appliance, so a dedicated process is required.
Answer
You can extract log files by using any of the following commands from the CLI command prompt
- fileserver
- diag
To use the fileserver command :-
- Logon to the InfoSphere Guardium appliance as a CLI account,
- Issue "diag" command.
- From the diag command menu:
- Select "1 Output management" and press "OK".
- Select "3 Export recorded files" and press "OK".
- Choose the log files you need, and press "OK".
- Select "1 FTP" or "2 SCP" and press "OK".
- Input the host name which you want to upload to, and press "OK".
- Input the user name and press "OK".
- Input the password and press "OK". ****
- Input the destination path and press "OK".
- Check the information and press "OK". -> The file will be uploaded to the target system.
- Select "OK" to exit
- Select "3 Exit" and press "OK"
- Go to step 3a. when you need to upload another file. If not, proceed to the next step:
- Select "5 Exit to CLI" and press "OK".
1. Logon to the InfoSphere Guardium appliance as a CLI account,
2. Issue "fileserver" command.
| xxxx.ibm.com> fileserver Creating the index file. Starting the file server. You can find it at http://xxxx.ibm.com Press ENTER to stop the file server. |
NOTE : If you get a message like this with the fileserver command
Unable to determine remote host to limit fileserver access to.
You may need to supply the ip address of the machine you wish to open the browser on
fileserver <ip_address>
3. A web server will be launched on your collector, and you can access the log files directory from your browser.
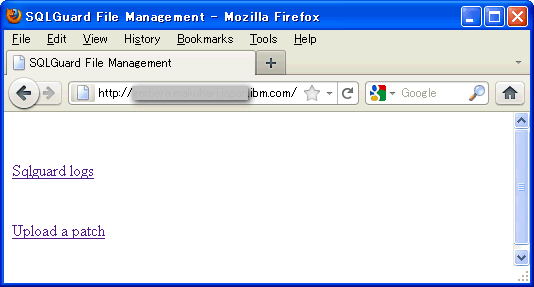
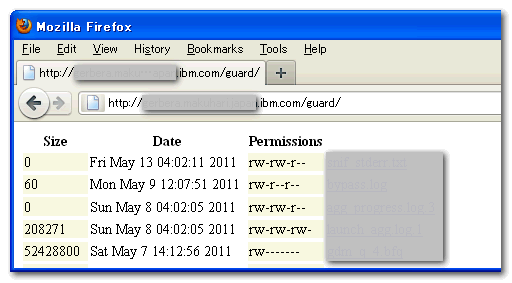
4. click "Sqlguard logs", you'll see the file list in the appliance's log directory. You can download any files by clicking on the file.
[NOTE] The link at the top line which says /var/log/guard is the current page, and the link doesn't work. Please do not click the link. Other links to the files and directories work fine.
To use the diag command :-
**** [NOTE] if "2 SCP". is chosen the destination path will be asked for before the password
Was this topic helpful?
Document Information
Modified date:
16 June 2018
UID
swg21499434